5 Beginner Woodworking Projects You Can Build This Weekend
Most free plans you find online leave out the parts that matter: exact measurements, a cut list, and the order to put things together. You end up standing in the lumber aisle guessing, and making a second trip to the store. The plans below give you all three, so you can buy once and build in an afternoon.
Looking for plans for other projects too? See what's in the TedsWoodworking collection.
1 Simple 2x4 workbench
If you're setting up a garage or basement shop, build this first. It's a plain bench made from 2x4s and a sheet of plywood, nothing fancy, but it's solid enough to hold a vise and it gives you a flat surface for every project after it.
You only need to make straight cuts and drive screws. If your first few cuts aren't perfect, the bench won't mind.
Shopping list
| Item | Qty |
|---|---|
| 2x4 stud, 8 ft | 6 (buy a 7th if the pile looks warped) |
| 3/4" plywood, 4 × 8 ft sheet | 1 |
| 2-1/2" wood screws | 1 box (about 100) |
| 1-1/4" wood screws | about 40 |
| Wood glue | optional |
Tools: circular saw or miter saw, drill/driver, tape measure, speed square, two clamps, pencil. Wear eye and hearing protection when you cut.
Cut list
| Part | Qty | Size |
|---|---|---|
| Legs | 4 | 35-1/4" |
| Long rails | 4 | 60" |
| Short rails | 4 | 21" |
| Middle supports | 2 | 21" |
| Top (plywood) | 1 | 24" × 60" |
| Shelf (plywood) | 1 | 24" × 60" |
Assembly
1. Build the top frame
Lay two 60" rails on edge, 24" apart. Fit two 21" short rails between the ends and two 21" middle supports about 20" apart. Drive two 2-1/2" screws through the long rail into each end. Measure both diagonals; when they match, the frame is square.
2. Build the lower frame
Same as step 1 with the other two 60" rails and two 21" short rails. It doesn't need middle supports.
3. Attach the legs
Stand a leg inside each corner, flush with the top of the frame. Clamp it, then drive three 2-1/2" screws through the frame into the leg.
4. Attach the lower frame
Flip the bench upright. Mark 6" up from the bottom of each leg, rest the lower frame on blocks at that height and screw it to the legs the same way.
5. Add the shelf
Notch the four corners of one plywood panel 1-1/2" × 3-1/2" so it drops in around the legs. Fasten it to the lower frame with 1-1/4" screws every 8 to 10 inches.
6. Add the top
Set the second panel on the top frame, flush with the edges, and screw it down every 8 to 10 inches. A bead of glue on the frame first makes it stiffer. Knock the sharp edges off with sandpaper.
Mistakes to avoid
- Putting the legs on before checking the frame for square. A twisted frame gives you a wobbly bench.
- Screwing close to the end of a board without pre-drilling. It splits.
- Picking warped studs. Sight down each board at the store and leave the bowed ones.
Want plans for bigger shop projects, like a rolling workbench or tool cabinet?
See what's in TedsWoodworkingAffiliate link: we may earn a commission. Opens the seller's page on ClickBank, 60-day refund.
2 Raised garden bed (4 × 8 ft)
The classic 4 × 8 bed: narrow enough to reach the middle from either side, and every long board is used at full length, so there are only a few cuts. Two 2x6s stacked give you 11 inches of soil depth, enough for most vegetables.
Shopping list
| Item | Qty |
|---|---|
| 2x6, 8 ft (cedar or another rot-resistant wood) | 6 |
| 4x4, 8 ft | 1 |
| 3" exterior wood screws | about 50 |
Cut list
| Part | Qty | Size |
|---|---|---|
| Long sides (2x6) | 4 | 96" (no cut) |
| Short sides (2x6) | 4 | 45" (two from each of 2 boards) |
| Corner posts (4x4) | 4 | 11" |
Assembly
- Build the two short ends first. Stand two 11" posts upright, lay two 45" boards across them one above the other, flush with the outside edges of the posts, and drive two screws per board into each post.
- Set the two ends 96" apart. Screw the four 96" boards to the posts, lapping over the ends of the short boards, two screws per board at each post.
- Place the bed where it will stay, on level ground. If you have gophers or moles, staple hardware cloth across the bottom before you fill it.
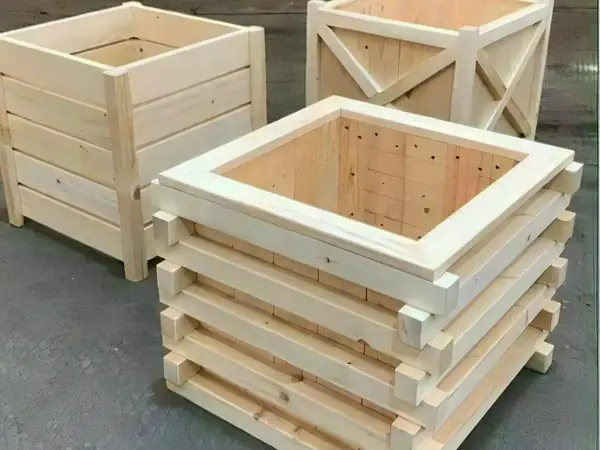
Want plans for planters, potting benches and other garden projects?
See what's in TedsWoodworkingAffiliate link: we may earn a commission. Opens the seller's page on ClickBank, 60-day refund.
3 Basic bookshelf
A straight, sturdy bookcase made from common 1x10 boards. The plywood back keeps it square, and a small toe kick at the bottom stops it from looking like a plain box.
Shopping list
| Item | Qty |
|---|---|
| 1x10, 8 ft (pine or poplar) | 5 |
| 1x3, 4 ft | 1 |
| 1/4" plywood, 4 × 8 ft sheet | 1 |
| 2" wood screws and wood glue | 1 box |
| 3/4" brad nails or short screws for the back | 1 box |
| Anti-tip furniture strap | 1 |
Cut list
| Part | Qty | Size |
|---|---|---|
| Sides (1x10) | 2 | 72" |
| Shelves (1x10) | 5 | 34-1/2" |
| Toe kick (1x3) | 1 | 34-1/2" |
| Back (1/4" plywood) | 1 | 36" × 72" |
Cut one side from each of two boards. Cut two shelves from each of the next two boards and the fifth shelf from the last one.
Assembly
- Lay the two sides next to each other and mark the shelf lines on both at once: the top shelf flush with the top, the bottom of the lowest shelf 2-1/2" up from the floor (so the 1x3 toe kick fits right under it), and the three middle shelves evenly spaced between them (openings about 16-1/2" tall).
- Glue and screw the top and bottom shelves between the sides, three 2" screws through each side. Pre-drill so the boards don't split.
- Add the middle shelves the same way, then glue and screw the toe kick under the front edge of the bottom shelf.
- Lay the case face down, check that the diagonals match, and nail or screw the plywood back on every 6 to 8 inches. The back is what keeps it square.
- Stand it up and attach it to a wall stud with the anti-tip strap.
Want plans for built-in shelves, cabinets and other furniture?
See what's in TedsWoodworkingAffiliate link: we may earn a commission. Opens the seller's page on ClickBank, 60-day refund.
4 2x4 outdoor bench
A simple slatted bench for the patio, the garden or the end of a bed. Four boards, straight cuts only, and it seats two adults.
Shopping list
| Item | Qty |
|---|---|
| 2x4, 8 ft / 96" (cedar or pressure-treated for outdoors) | 4 |
| 3" exterior wood screws | about 40 |
Cut list
| Part | Qty | Size |
|---|---|---|
| Seat boards | 4 | 47" |
| Legs | 4 | 16-1/2" |
| Leg cleats | 2 | 15" |
| Center stretcher | 1 | 37" |
Two seat boards come from each of two studs. From the third stud cut the four legs and one cleat; from the fourth, the second cleat and the stretcher.
Assembly
- Make two leg assemblies: stand a 15" cleat on edge and screw a leg to one face of it at each end, tops flush, two screws per leg.
- Stand the two leg assemblies with the legs on the inside, 37" apart between the cleats. Fit the stretcher on edge between the cleats, centered front to back, tops flush, and screw through each cleat into its ends.
- Lay the four seat boards on top with about 3/8" gaps (a pencil works as a spacer) and 3-1/2" of overhang past each cleat. Drive two screws per board into each cleat and one into the stretcher.
- Round over the seat edges with sandpaper and finish with an outdoor sealer.
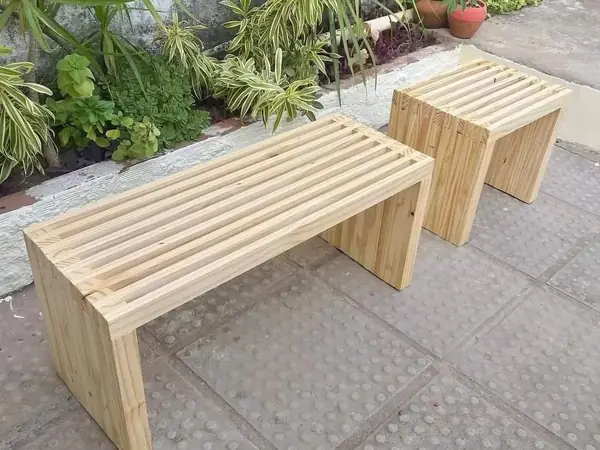
Want plans for picnic tables, Adirondack chairs and more outdoor furniture?
See what's in TedsWoodworkingAffiliate link: we may earn a commission. Opens the seller's page on ClickBank, 60-day refund.
5 Planning a chicken coop or dog house
Coops and dog houses have more parts than the projects above, so a good plan matters more. Before you pick one, get the size right. These are the numbers most backyard keepers go by:
Chicken coop sizing
| What | Rule of thumb |
|---|---|
| Floor space inside the coop | 3 to 4 sq ft per bird |
| Outdoor run | about 10 sq ft per bird |
| Roost bar | 8 to 10 inches per bird |
| Nest boxes | 1 box (about 12" × 12") for every 4 to 5 hens |
- Use hardware cloth, not chicken wire. Chicken wire keeps chickens in but doesn't keep raccoons out.
- Add vents high on the walls. Coops get damp and smelly without airflow.
- Make one wall or the roof open up so you can reach in and clean.
Dog house sizing
- Inside, the dog should be able to stand, turn around and lie down stretched out, and not much more, so its body heat keeps it warm.
- Make the door a little taller than the dog's shoulder and put it off to one side, out of the wind.
- Raise the floor a few inches off the ground on 2x4 runners so it stays dry.
- Give the roof a slope so rain runs off.
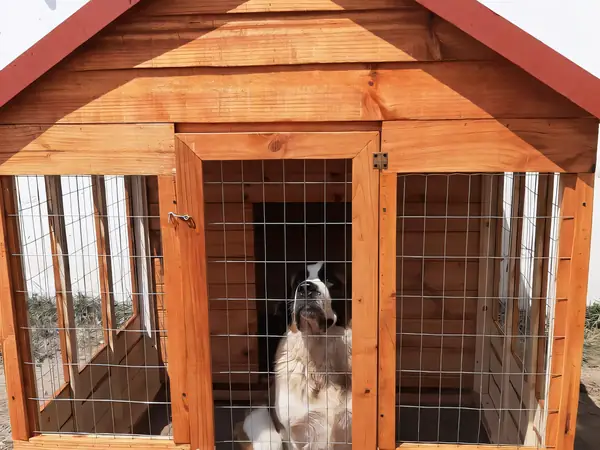
Want step-by-step plans with cut lists for coops, dog houses and sheds?
See what's in TedsWoodworkingAffiliate link: we may earn a commission. Opens the seller's page on ClickBank, 60-day refund.
More projects from the collection
A few of the projects included in TedsWoodworking, from quick weekend builds to bigger pieces for the yard and the shop.
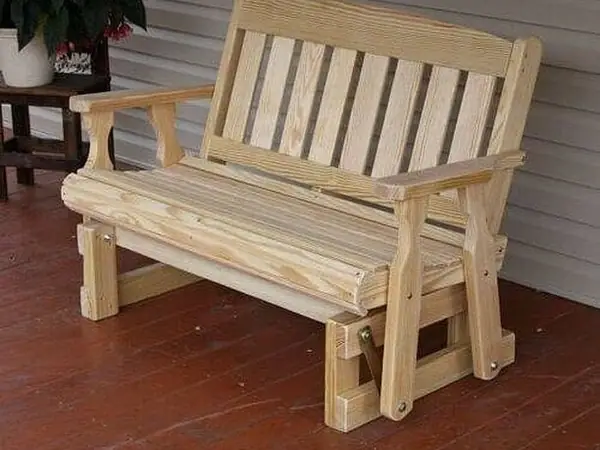
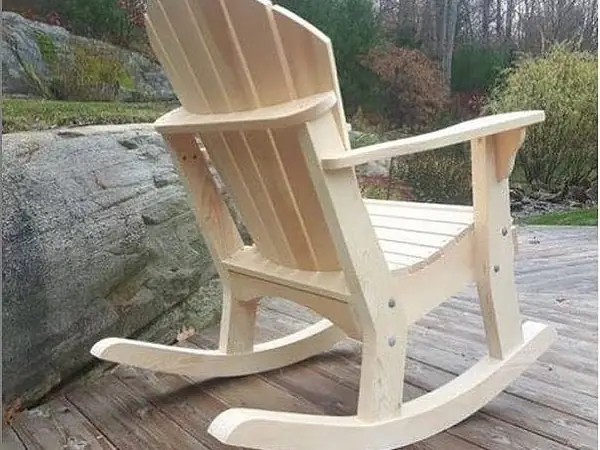
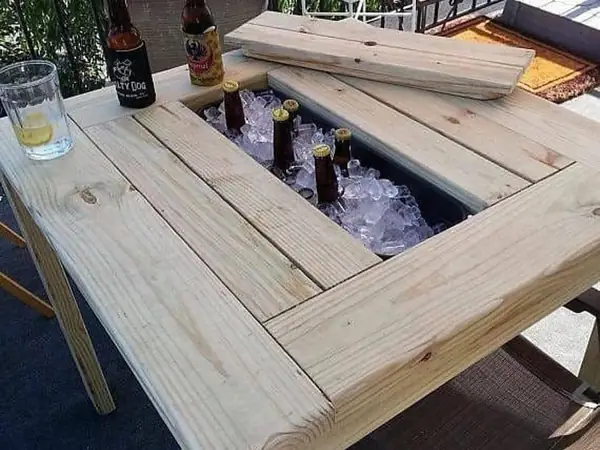
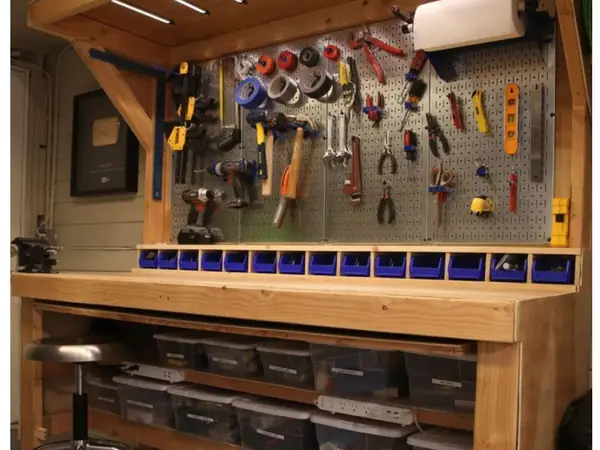
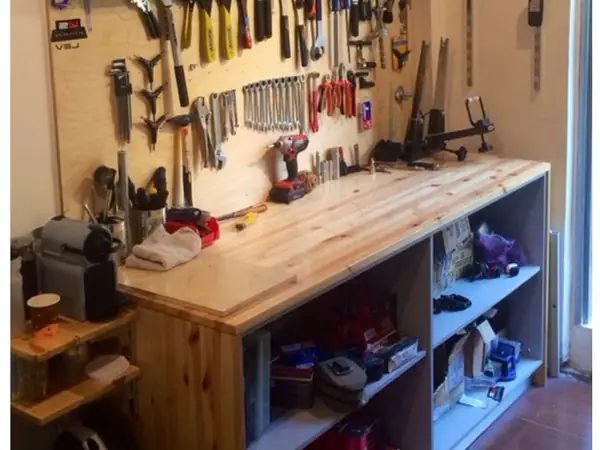
Project photos supplied by the seller.
What's inside TedsWoodworking
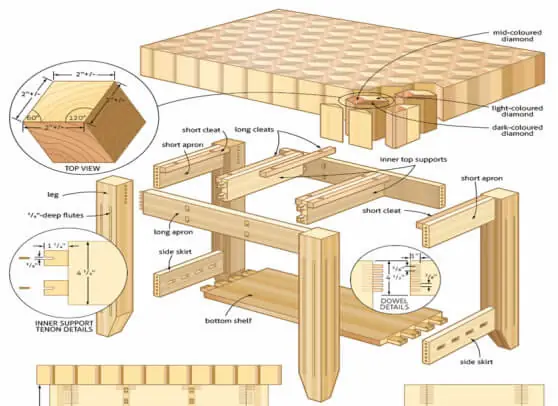
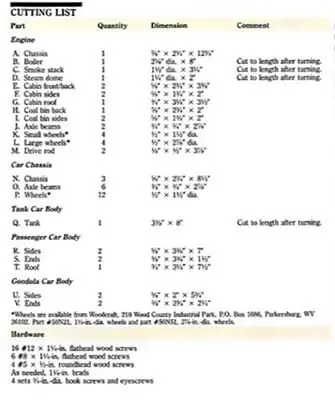
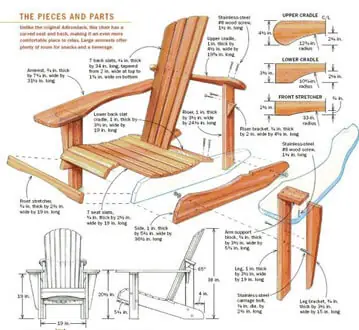
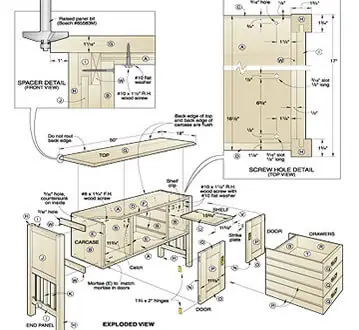
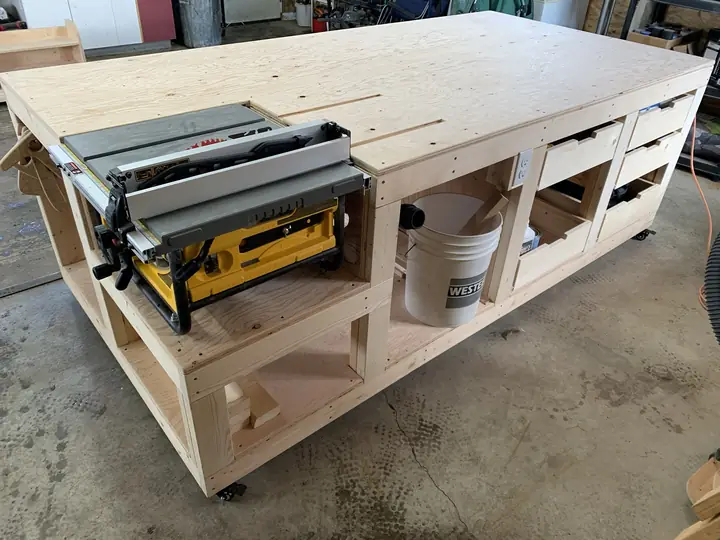
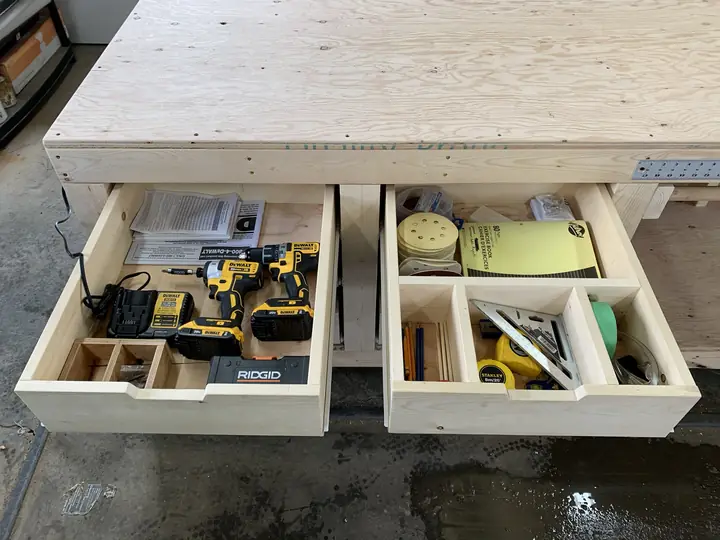
Sample plan pages and project photos provided by the seller. They are not the bench in the plan above.
- Plans come with drawings, materials and cutting lists.
- Projects range from small crafts and shop furniture to sheds and outdoor furniture.
- It's a digital download: you view or download the plans; nothing is shipped.
Price and refund
| Price | $67, one-time payment (on the seller's page when we checked in September 2026; it can change) |
|---|---|
| Format | Digital download |
| Refund | 60 days through ClickBank, the retailer that processes the order |
| Extras | The seller may show optional add-on offers after checkout. You can skip them. |
To ask for a refund, go to clkbank.com (ClickBank's customer support), look up your order with your email and follow the refund steps.
Questions people ask
Is it good for beginners?
Many of the plans are simple projects like shelves, benches and boxes. Some are advanced. Start with the small ones and work up, the same way you would with this workbench.
Are all the plans original?
No, and it's worth knowing before you buy. Some plans are older and some pages look scanned, so quality varies from plan to plan. The value is in having a large number of projects in one place.
Is it easy to find a specific plan?
The collection is big, so expect to spend some time browsing by category before you find what you want.
Is it a subscription?
The main offer is a one-time payment. Any add-ons shown after checkout are optional.
Do I need it to build this workbench?
No. The plan on this page is complete.
Ready for more projects?
If you want ready-made plans with cut lists for your next builds, take a look at the collection and decide for yourself.
See what's in TedsWoodworkingOpens the seller's page. Sold through ClickBank with a 60-day refund policy.
We didn't create TedsWoodworking and have no connection to its owners other than the affiliate program. Follow the safety instructions for your tools.